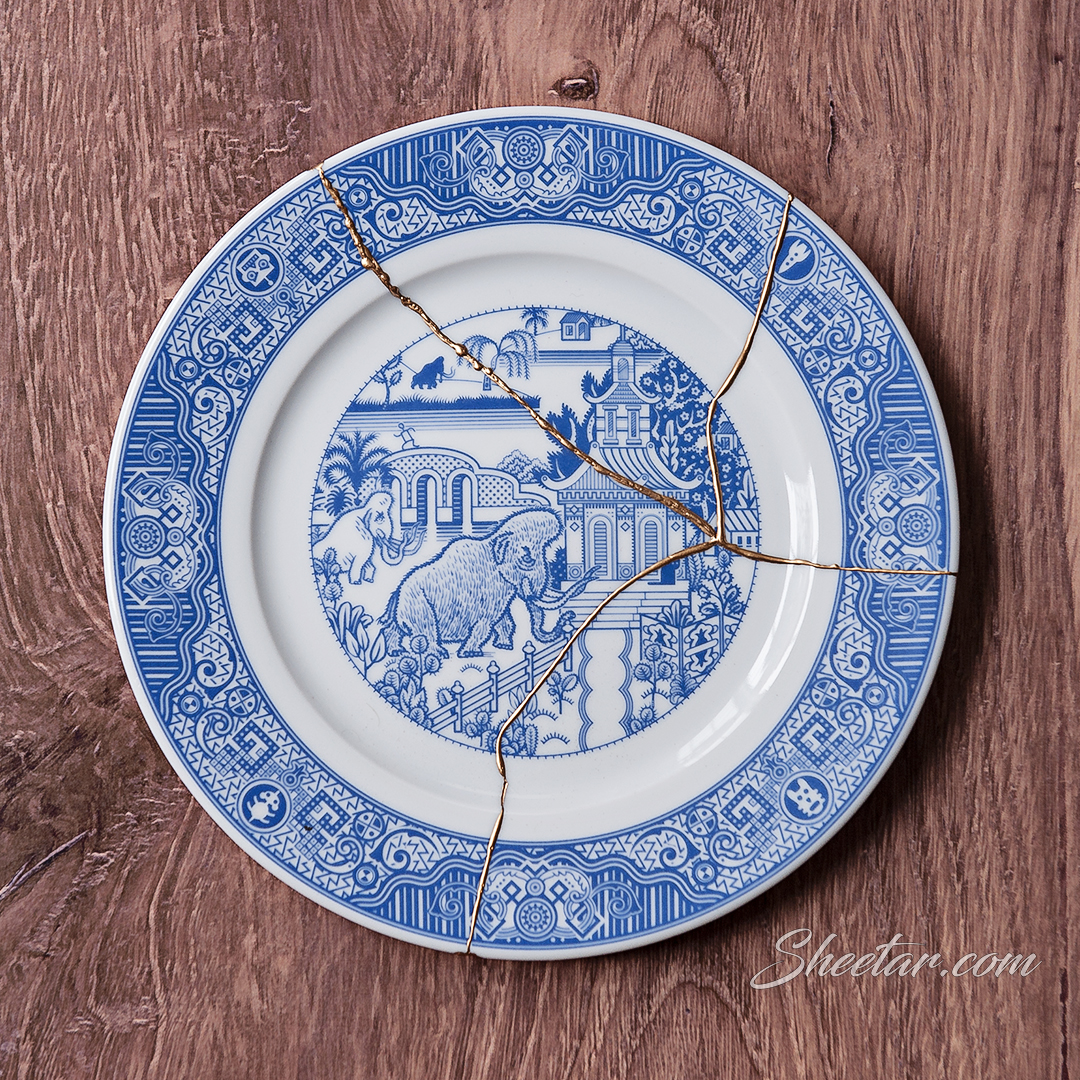
I had a recent Kickstarter for Calamityware that arrived, and sadly one of the four plates arrived broken. I absolutely adore Calamityware and using some slightly off-center tableware, so while the company’s customer service replaced the broken plate, I still had four pieces of a broken plate that I didn’t want to just throw away. Enter Kintsugi.
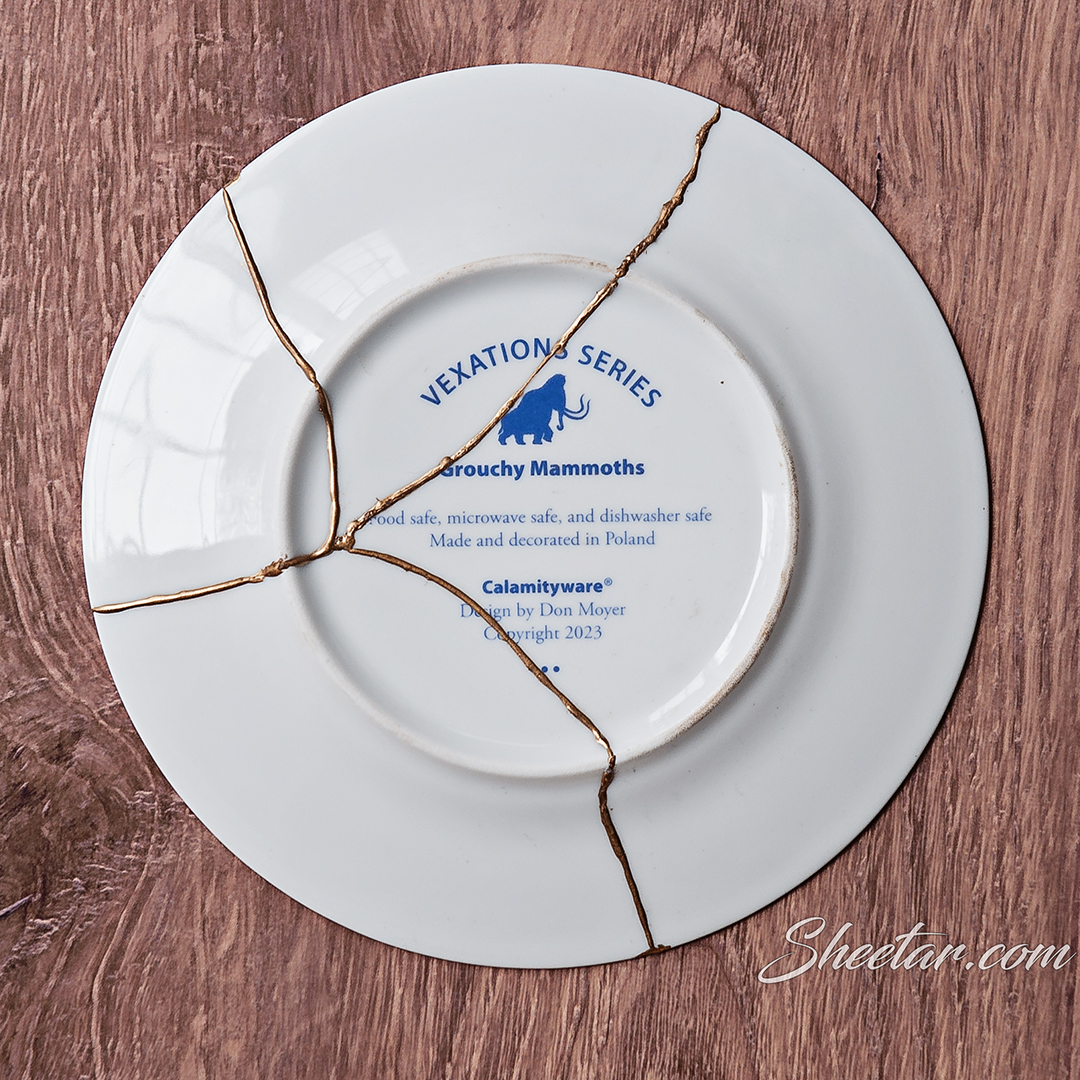
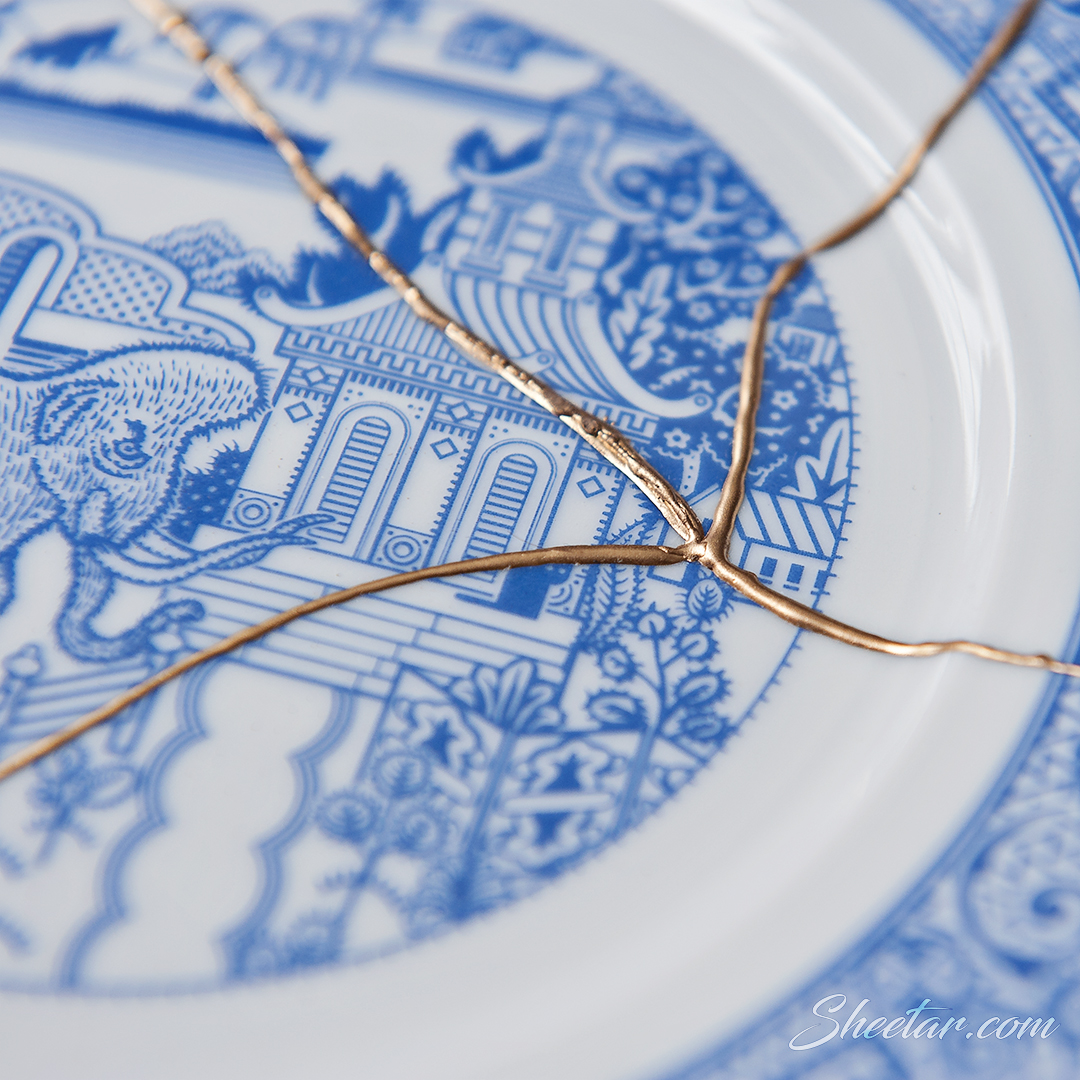
Well, faux Kintsugi. And let me be clear, this isn’t in any way, shape, or form, the traditional method of Kintsugi from Japan. The traditional method uses a lacquer called Urushi and if that sounds familiar, it’s because it’s derived from a plant with the same allergic compound as poison ivy. Being someone who is pretty badly allergic to poison ivy meant the traditional method was off the table. I joke about being able to break out in an itchy rash from just looking at the stuff, so using a lacquer that has a long cure time, and then sanding said lacquer, well, no thanks. I also read stories on reddit about people getting rashes and ohh goodness, no, nope, no thank you. (One bad episode as a kid in the summertime that involved steroid cream and not being able to bend my legs for weeks was plenty enough of that nonsense, thank you). Anyway, I’ve got a reel on Instagram that follows the whole process (here), but basically it’s epoxy with gold mica powder for color. The seams between the pieces aren’t flat, but I actually like the feel of the bumps outlining where the broken pieces were mended together. Of course, epoxy isn’t food safe, despite the kit I purchased from a large internet retailer saying it was (it’s not, it’s SO completely not), but that doesn’t mean I can’t use it as a candle plate, saucer for tea, water-catcher for plants, and so on.
- Lessons learned:
- My first seam, I didn’t hold long enough, so it bubbled out funny when I released and realized what I had done. Patience. Stay the course and let it cure completely, but not too long. The seam does need to be dusted with mica powder to get a good shine.
- Cleanup is easy with acetone or isopropyl alcohol, but it will dull the finish of your lines. Also a good sharp x-acto blade will work for cleaning up epoxy.
- I should’ve marked the spots where there were gaps and tiny slivers missing – it would’ve been easier to add a little extra epoxy there before fitting them and then adding more after.
- Use way less epoxy than you think. Seriously, unless you want a thick line, use less, way less. And do a new mix for each seam, working/curing each seam one at a time.