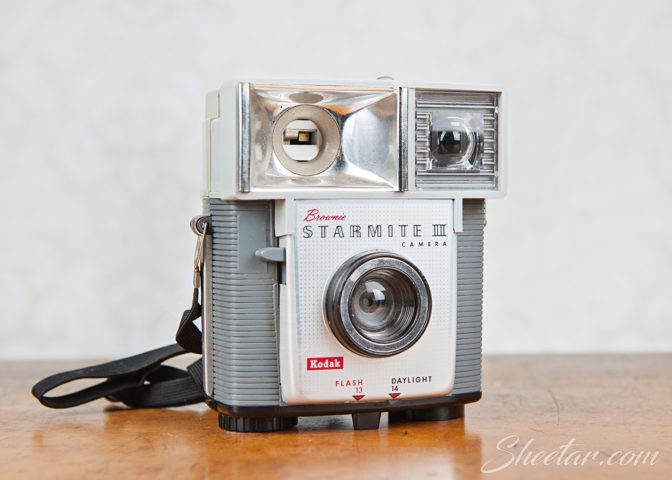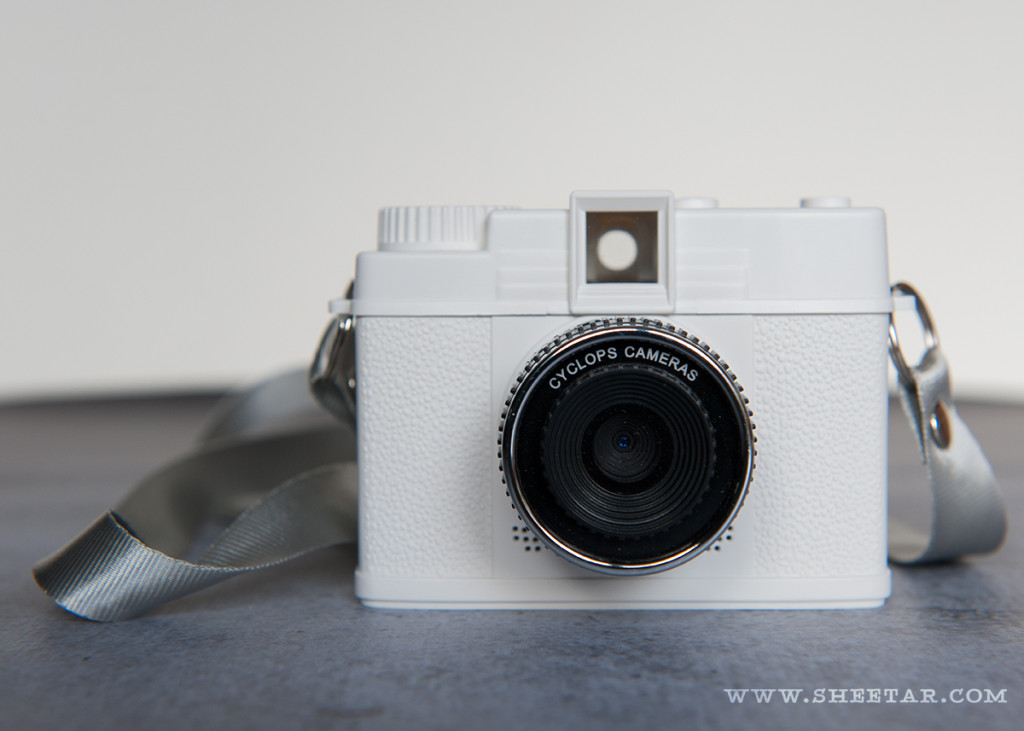
I signed up over the summer for the Indiegogo campaign for the Rhianna, the digitial Diana mini camera by Greg Dash. I received the Little Cyclops mini fisheye camera from his first campaign and loved it so much that I figured I might as well spring for this one too. It was well worth it! The weather finally cooperated and I had enough time to take a walk around town and play with the camera for a little while. But first, the details!
(Missed the Indiegogo campaign but still want one? There are a limited number available via Greg’s website, CyclopsCameras.com)
Cost: I got on the earlybird special at £50 or about $75 USD, shipping included
Size: 4″ wide (including strap attachment points), 2.75″ high, 2.375″ deep (1.375″ without lens). Weighs 4.4 oz (about 125 grams) including the strap
In The Box: Camera, strap, mini USB cable, user guide
Tech Specs: 12 megapixel, 1/3″ CMOS sensor, plastic lens and body, run of only 1000 cameras
Operation: To turn the camera on, there is a large on/off switch on the back face which allows for the camera power to be completely shut off to save battery. The power button on top turns on the camera once the switch is flipped to “On” but doesn’t function when the switch is set to “Off.” There are two LEDs on the back for, “Busy,” and, “Charge.” The charge light turns blue when the switch is set to off and the camera is plugged into the computer or power source (a cellphone charger works great) and shuts off when charging is complete. Both LEDs come on red when the camera is turned on, and flash red while recording video. Video is recorded by changing the mode button and both the camera and starting/stopping video recording are operated with the shutter button on the top right. A third press of the mode button brings up photo review which also allows for playback (including audio) of videos.
File Transfer: To transfer files to a computer, the power switch has to be turned on. Plug the camera into a USB port on a computer and the files are easily transferred to the computer as if it was a USB flash drive or any other Mass Storage Device. Average file size at the highest resolution/quality setting comes in at 3648 x 2048 pixels and around 1 MB per photo (listed as 7M in the menu, not the 12 megapixels advertised). Files are JPG format. To transfer the files directly to your camera (or social media) all you need is a USB OTG (on the go) adapter to fit your phone. I bought this one a year ago and it’s been working great to transfer files from both the Little Cyclops and the Rhianna to my Samsung Note 3 phone which has a micro USB port.
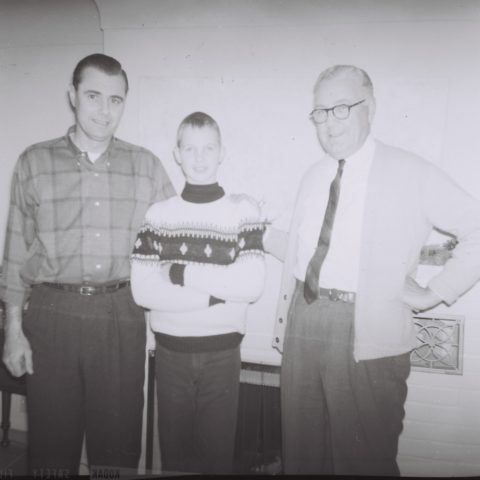
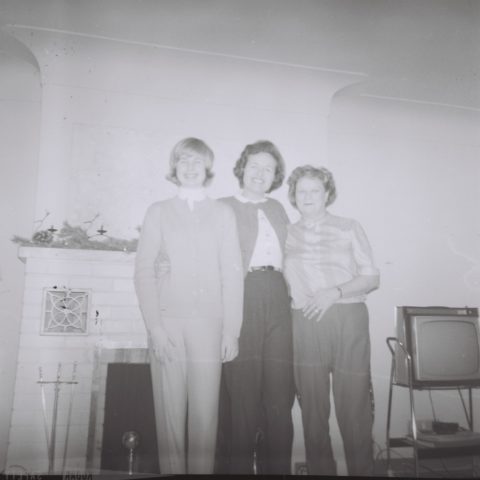
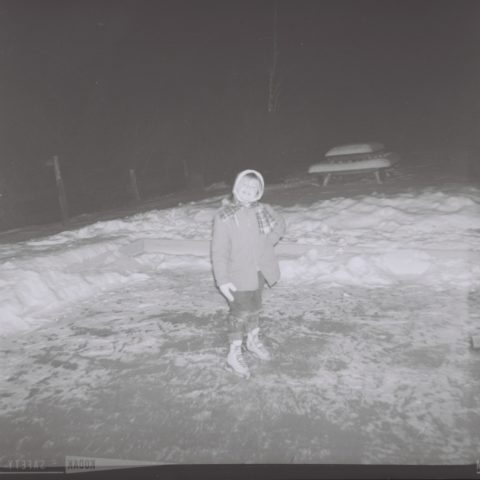
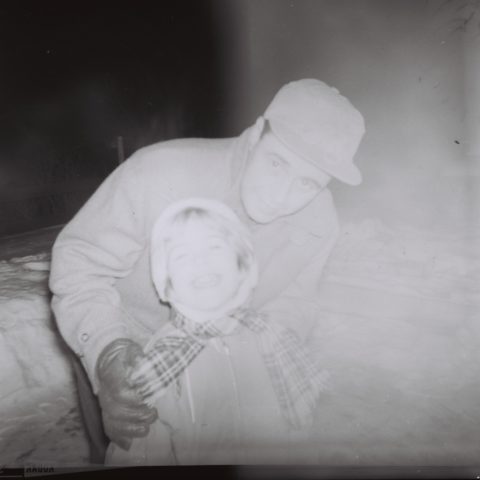
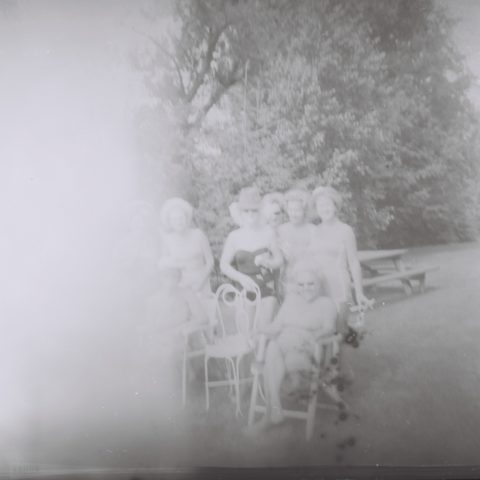
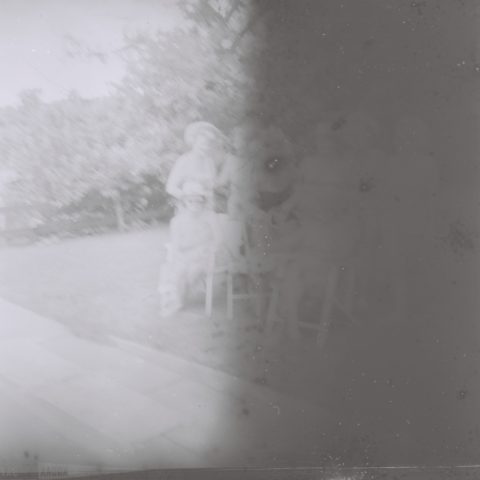
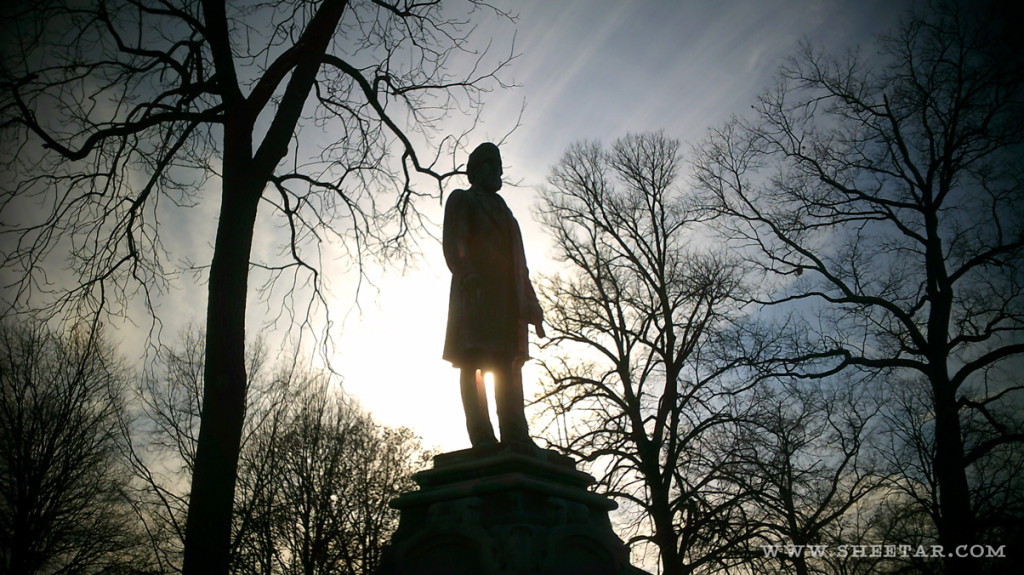
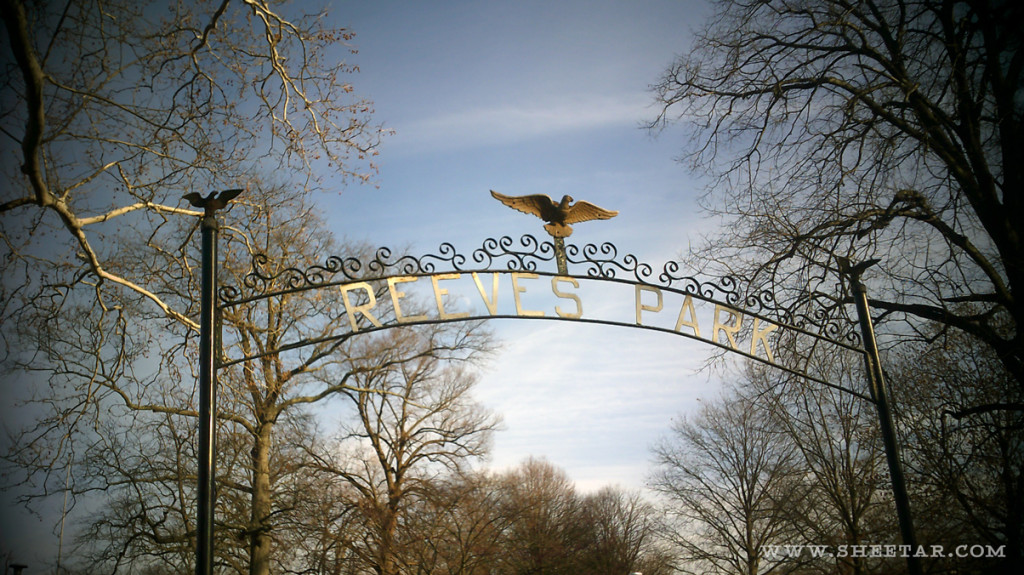
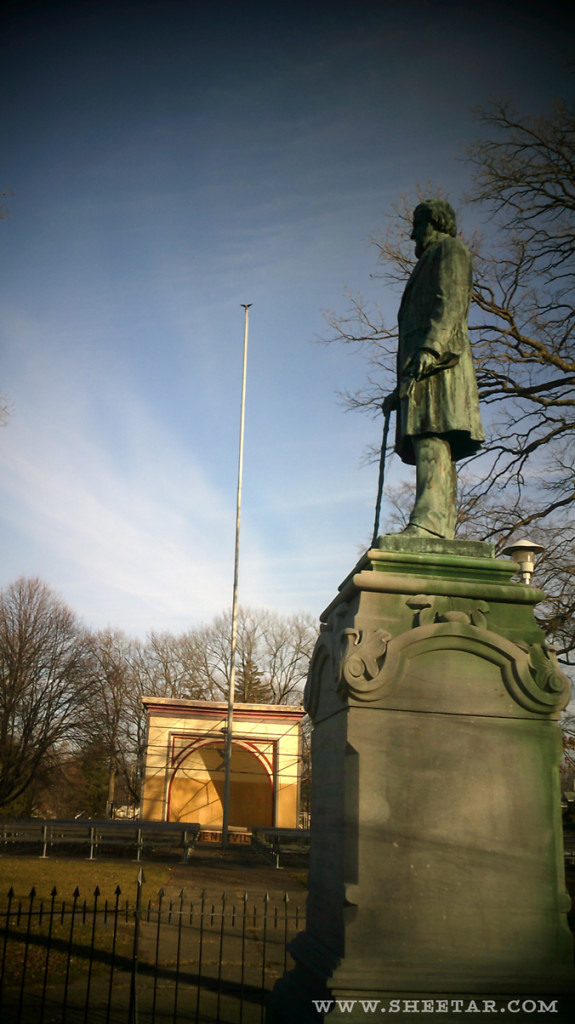
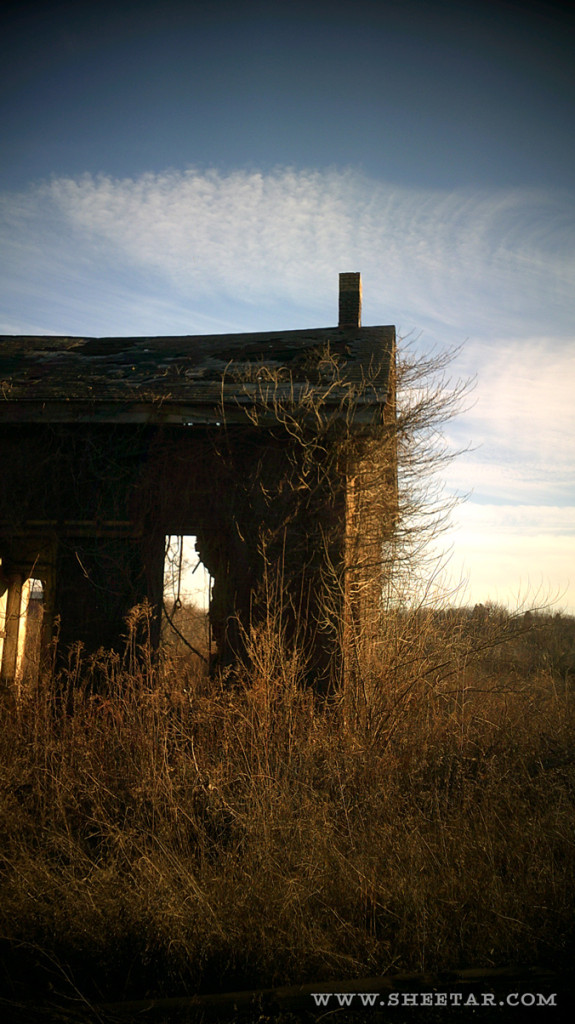
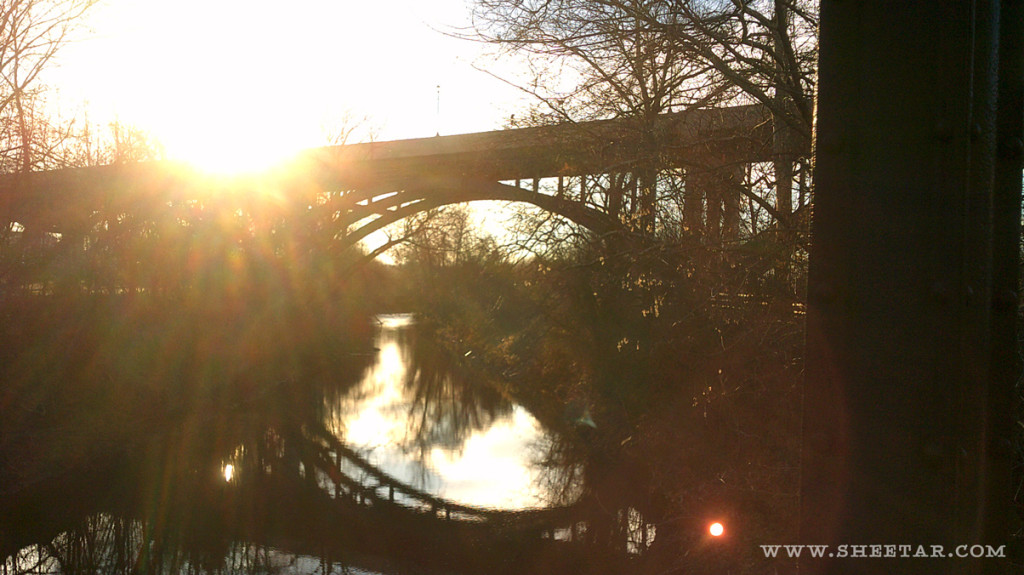
Review: The camera arrived at my home near Philadelphia, Pennsylvania on December 17th from Singapore. I had to sign for the package with the mail delivery person. Upon opening the box, the inside flap read, “Thank You,” and the camera was nestled inside. Underneath the cardboard support for the camera were the strap, cable, and instructions. I immediately turned on the camera and found that it had enough charge to play with for a little while which was a nice surprise. I grabbed an SD card (Samsung 32 GB SDHC class 10) out of another camera, plugged it in and started setup. First thing I did was turn off the beep noises, set the date and turned off the date from showing up on the images. The menu is easy enough to navigate and clear – the menu button selects, the arrow/play button moves on to the next menu (cycling only to the right), the up/down arrows cycle through each menu screen, and the mode button acts as a “back” button. On my day out shooting, the camera lasted the three hours I had it running on and off and only got down to about half battery capacity. I didn’t have any issues shooting, and the camera performed about as I expected – better in the sun, not that great in low light or shade. The camera is all white which wouldn’t have been my color of choice, but it leaves the option open for the camera to be painted using acrylic paint. It looks like it might be possible to remove the outer shell of the camera for easier painting too since there are screws holding the camera together. Might have to clarify that with the creator before going ahead with it though. I recorded one video of my dogs and the sound isn’t that great – I don’t think I was covering the microphone but on playback it sounds like the audio was recorded from another room. I’ve included a few photos below to let the camera speak for itself! I used the Rhianna effect on all of these which has this odd character of turning any whites/blown highlights near the edges this odd pink color which you can kind of see in the next to last photo in the windows.
For more photos and a short video, check out my Rhianna set on Flickr.

Issues/Wishlist:
- The camera doesn’t remember what effect setting you selected after turning the camera off. You have to go back in and set the effect each time (it defaults to “Normal”).
- It would’ve been great to have the effects menu as a separate, easy to access menu that loaded up as the first item. Navigating to the effects option can be a bit of a hassle since it’s not at the top of any of the menus, so it takes some scrolling to find.
- Lens cap! I would’ve loved a lens cap. I saw someone using a milk container cap elastic-banded to the camera which seems to work out alright.
- The LCD screen is really hard to see in direct sunlight and the viewfinder isn’t really compatible with glasses – I have to wiggle the camera around to see the edges of the viewfinder window since the glasses keep me from getting my eye right up in the viewfinder.
- I would’ve loved an option to set the photos to a square/medium format crop like the original Diana mini.
- A tripod mount would’ve been nice – the original Diana mini has one.
Final Thoughts: Overall the camera is well made, very closely resembles the Diana mini, and is a ton of fun to go out and play with. It’ll be an excellent companion for travel and gets me out doing photography for fun instead of for work which is always a good thing. Don’t get me wrong, I love my job, but there’s a simple joy about going out with a camera when there’s no assignment or time restrictions. I love discovering the world through the lens of a camera and the view is always a little different with each camera.
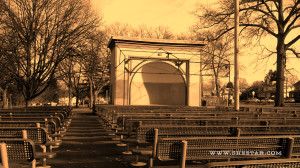
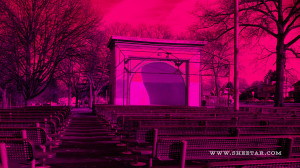
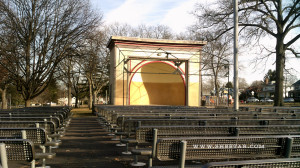
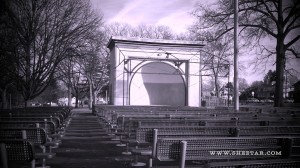
The entire menu tree is listed in the User Guide, so I won’t get into that here, but I will give you an example of all the effects as shot by securing the camera to a tripod with bungee bands. Click any photo to view larger.
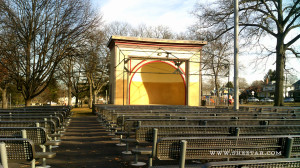

Normal B&W Sepia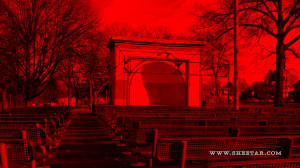
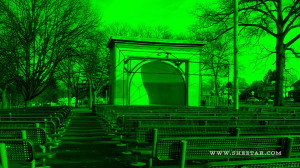

Red Green Blue
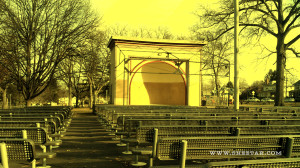

Sunset Warm Cool

Over Exposure IR Binary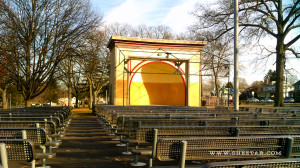

Vivid Undertone Dog Eye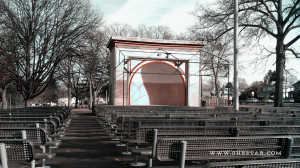

Aibao Gothic Lomo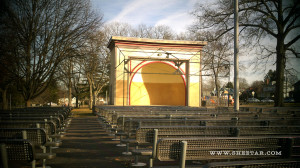

Rhianna Negative