This week’s lesson for the Spoonflower Cheater Quilt is Creating the Canvas. For a look back, the post on Lesson 1 & 2 can be seen here.
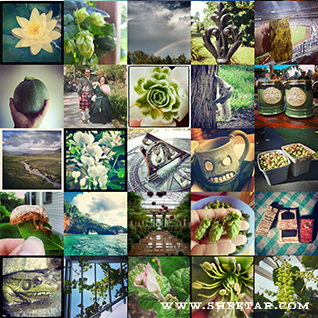
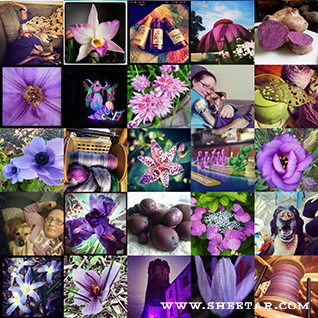
I’m no stranger to Photoshop, so this is really the easy part for me. I feel like this lesson should’ve been combined with adding the collage squares because part of making sure the border works is having the content in the center to fit a border around. I cheated a little bit and added my collage squares from last week at 12″x12″ just to see how they lined up to make sure my border worked well.
The canvas is set up at 56×36 which is one yard of their sateen fabric, and the border is set up 2.5 inches inside the edge. I didn’t really like the chain of squares given in the lesson example so I set out to do something completely different.
I started out thinking it would be neat to find a border that mimics a film negative, but ended up not liking all the black from the negative design, and there was no free clipart I could find that fit just right.
Then I moved onto something that would look like a Polaroid photo border, but those didn’t work either because the porportions looked weird on the canvas. I may come back to this idea though and put each collage square inside a polaroid border and ditch the quilt border entirely in favor of scattering the polaroidized collage blocks at random angles across the quilt.
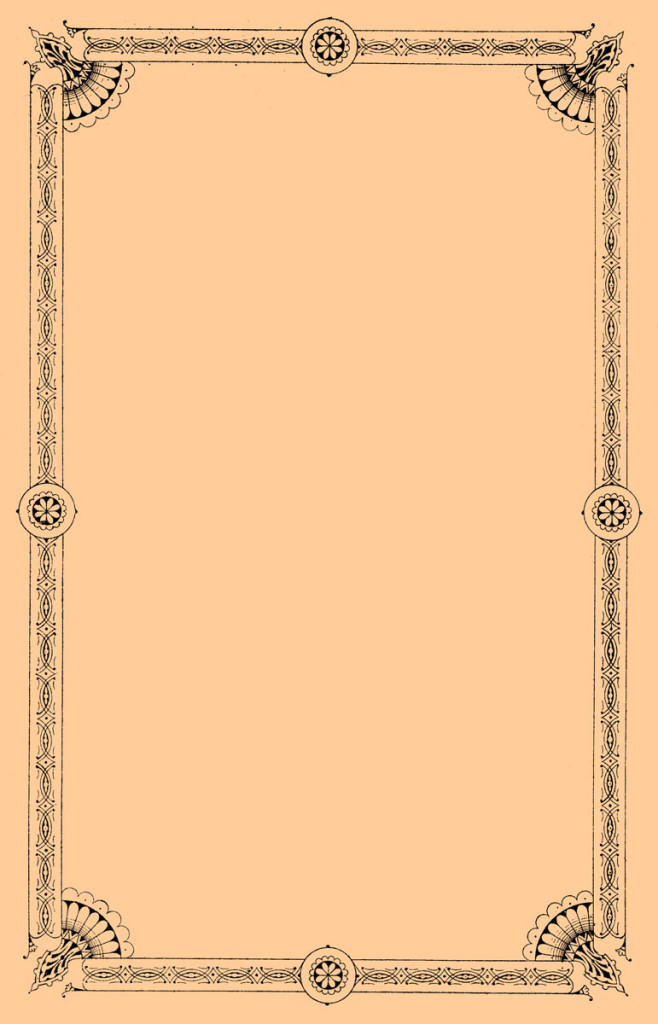
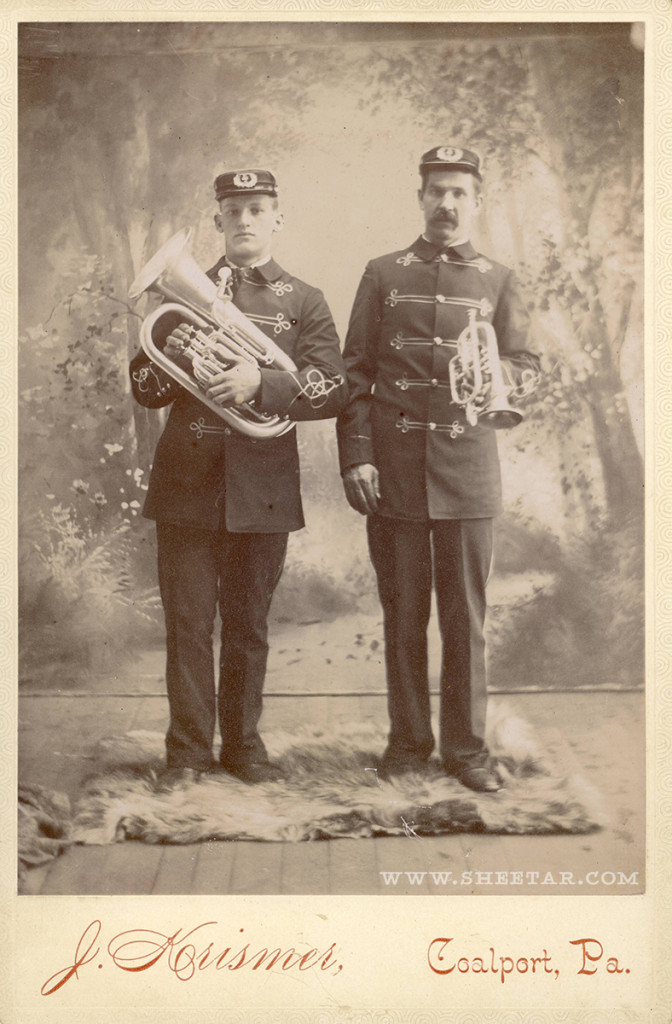
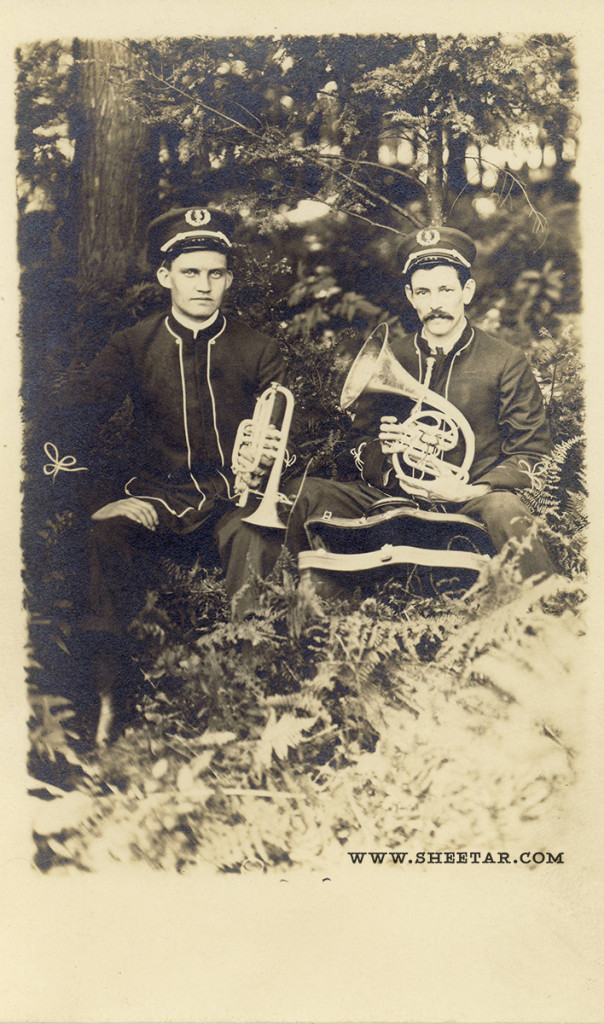
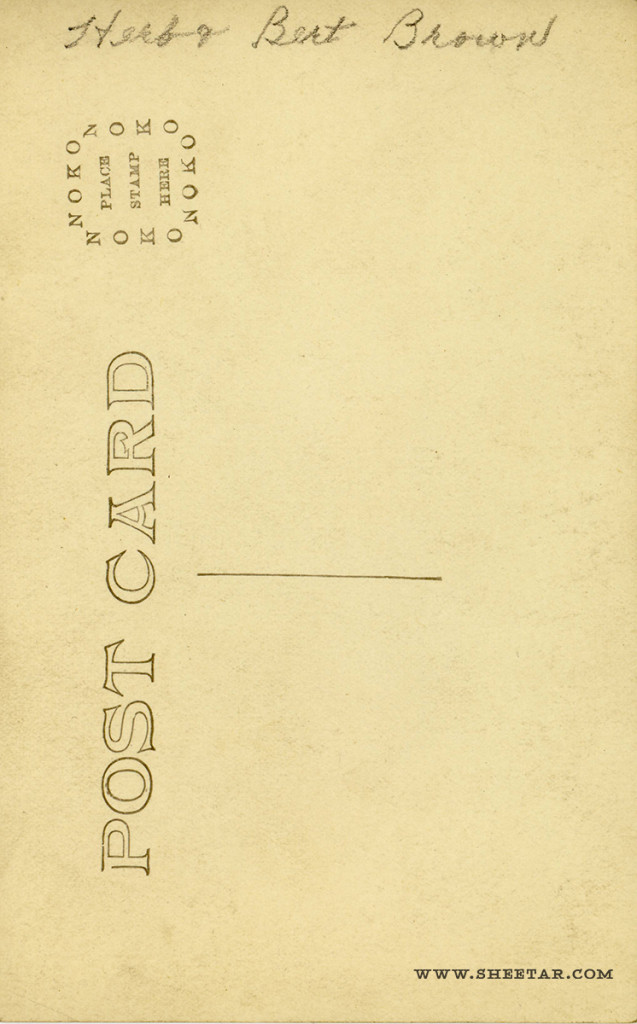
Finally, I turned to the old album of family photos from the 1980s-1910s. It’s an absolute treasure because of the age of the photos and the beautiful backs the photographers had made up. Every photo acted as a sort of business card, giving the family a treasured photo and the photographer a chance to gather more business. My first choice was this card back, but it didn’t leave me enough room to put photos in the center. The border was just too wide. Moving on, I found this one which was perfectly suited for the layout. The front of the card holds a photo of two unidentified children who I suspect to be children of a friend of the family. The photographer’s location was somewhat near where my 2nd great grandfather came from, but he was an orphan, adoped by a family who came to the USA in 1872. I cleaned up the border with some Photoshop magic and pasted it onto my canvas, having selected a color from the Color Guide. The instructions pointed to a color guide that you’d have to have printed on fabric and shipped to your home and there was just no time for that, so instead, I checked out this chart which seems to cover most of the basic web color hex codes. I ended up not using one from that chart, but set Photoshop to show only web colors and used FFCC99 as a sort of peachy neutral to mimic the sepia color of the back of the original photo as close as possible. Another factor in chosing the color was that we have two dogs who are just about that color, so the hair is less likely to show. It’s silly, but it’s definitely something to think about since I plan to use this quilt on the couch.
I’m still not entirely set on the border, but who knows, after the next lesson, it may grow on me!
EDIT 10 March 2015: I did futz around and try something different. I posted a poll here, on Google+, so if you have G+ and want to vote, go ahead!

